
When you hear the term ‘web design’, your first thought probably goes to coding and Developers, as well as terms like CSS, HTML, and Javascript. You may not think of yourself as a Developer or programmer. But the good news is, while having a knowledge of those things is a plus, its definitely not required to be a successful web designer in Toronto!
This article is written for those aspiring web designers, who want to get up to speed on the profession fast, and aren’t interested in coding.
I will highlight the steps I personally took to embark on my web design journey, as well as outline different options you may want to take to get there yourself.
In case you’re wondering, the steps below all explain how to learn Web Design for FREE.
Let’s get into it!
Step 1. Pick a Web Design Platform
Nowadays there are many easy-to-use platforms out there that make web design an easy skill to pick up, no coding knowledge required. Here are the main players you should be aware of. Lastly, I’ll tell you what my preferred platform is and why.
Squarespace
Squarespace was the first platform I used to build a simple website for a home renovation company. It offers sleek, minimalist templates that are a great fit for a design studio or artist, which is who it was initially marketed towards.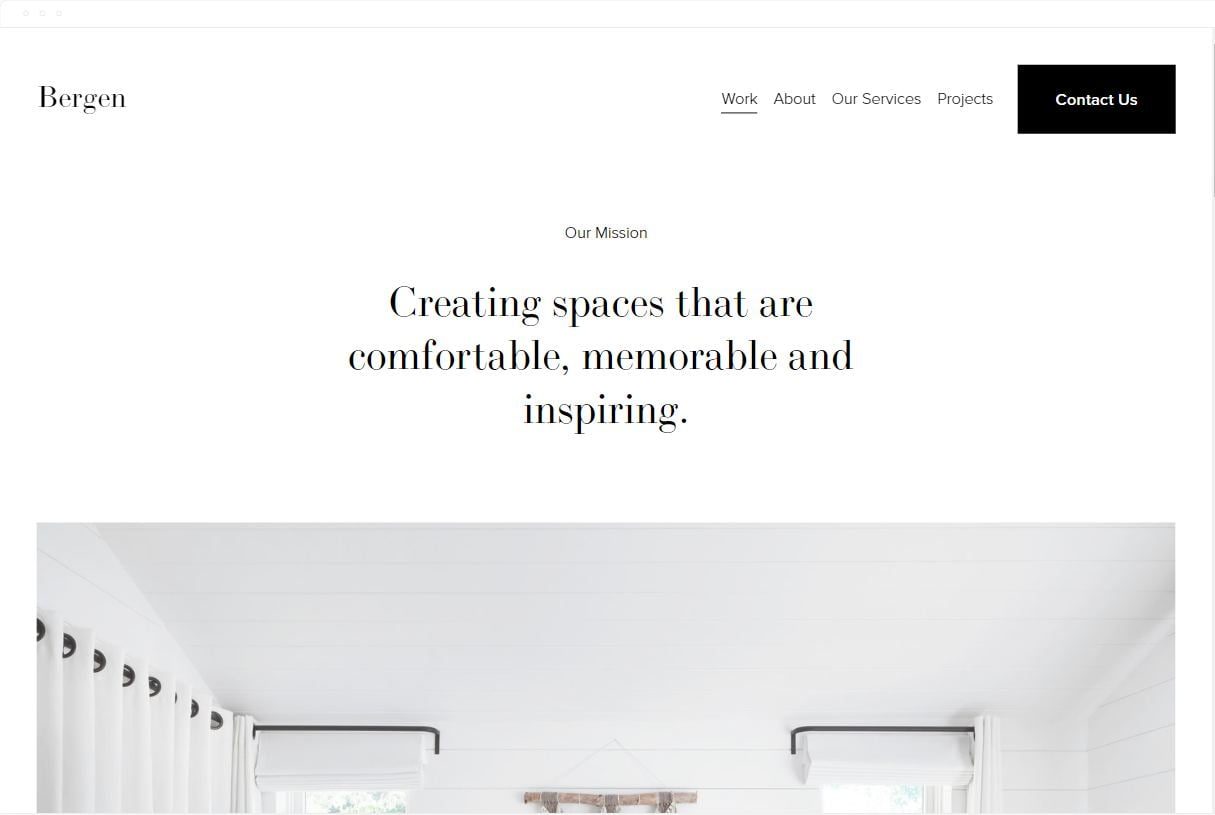
It also features a much-improved version of their drag-and-drop builder which allows you to intuitively build your website. However, there are still some usability features that make their editor somewhat less intuitive than what Weebly offers.
If you’re looking to create a Blog, Squarespace excels in this category, with features supporting commenting, scheduling posts, and podcast hosting.
The cost for the first-tier plans is around 16$ monthly, which is pretty reasonable considering that includes your hosting, SSL Certificate, and domain name. This is slightly more expensive that Weebly’s plans, however.
Squarespace also offers a wide range of design customization options, and more integrations with third-party services and features for E-Commerce.
If you’re building a simple site and you’re going for the clean, minimalist aesthetic, you’ll be happy with Squarespace.
Learning Resources:
Video Series: Getting Started with Squarespace
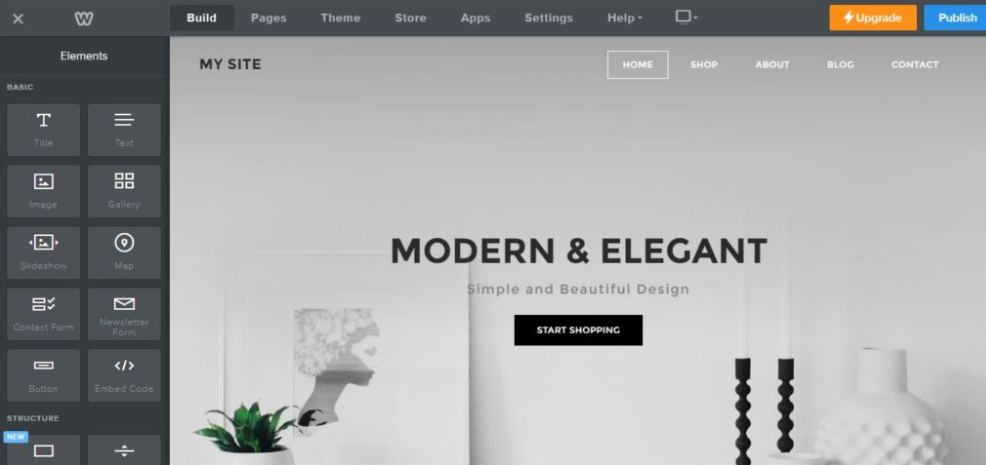
Weebly
The Weebly interface is very user-friendly and features an intuitive drag-and-drop interface to add various widgets and elements to your website. I personally prefer the Weebly editor to Squarespace as its more intuitive. The builder also allows you to edit the HTML and CSS source codes of your website and pages, useful for more advanced users.
Pricing is competitive. Weebly offers a free plan, which is a great option to get your feet wet and see if you like their product. The professional plan, which allows you to remove any Weebly ads, is 15$/month, billed annually.
There is a wide range of templates to choose from, for various industries. I would say there is slightly more variety here compared to Squarespace, and the designs don’t look so sterile.
One big feature of Weebly is their App Center, which is similar to the ‘plugins’ idea of WordPress. These apps allow you to add different functionality to you site, such as social media integration, add discounts for online stores, and a feature that allows website visitors to schedule appointments online. This means your site can grow with your business.
Learning Resources:
Youtube: Beginners Guide to Weebly
WordPress + Elementor (My Recommendation!)
WordPress is generally considered the best platform out there, due to its versatility, scalability, and user-friendly interface. However, WordPress does have a steeper learning curve compared to the other two options mentioned above, but offers way more customization options.
One of the true strengths of the WordPress platform is its Plugin library. As of the time of writing this article, the WordPress Plugin Directory features over 55,000 plugins. Most are free, and there are plugins to add virtually any type of functionality you can think of to your site, from social media integration, to E-Commerce, to SEO and website speed optimization.
If you’re primarily looking to create a blog, you should probably stop weighing your options and just go with WordPress. It was primarily built for blogging, and really excels in this area.
However in recent years, WordPress has ramped up its efforts to make site editing easier for beginners. And with their drag-and-drop Gutenberg platform, they have made it easy to add various design elements to your site, no coding knowledge required. Gutenberg will allow you to create simple layouts quickly.
When I first started learning WordPress, I was looking for a plugin to add a rich visual editing experience, which would eliminate the need for coding. If you want to move beyond basic layouts and create truly professional-looking websites, I highly recommend the free Elementor plugin.
Not only is Elementor a fantastic drag-and-drop editor, but also offers an extremely high level of customization for every element and section on your website. Not only can you modify each element with custom CSS code, but you can add entrance animations, responsive attributes, and more. Basically, Elementor allows you the granular level of detail that professional web designers need.
Again, there is going to be a steeper learning curve for this platform, compared to Weebly and Squarespace. But the level of detail and customization that will be available to you is unparalleled. So if you’re serious about building a truly custom website from the ground up, WordPress + Elementor is the way to go.
Having said that, there are many free resources out there to help you learn the ropes. Here are my picks:
Learning Resources:
Ferdy Korpershoek (Beginners Video)
WPBeginners Guide to WordPress
Step 2. Create Your Web Design Portfolio
It goes without saying that any potential client you reach out to, is going to want to see some examples of your work, before they fork over their cash to you. With a good portfolio backing you up, you can let it do the selling for you!
Of course, since you haven’t landed a client yet, this Portfolio will be just mock-ups. Make up some fake businesses and create mock-up sites for them. If you already have your hosting set up, you can create add-on domains (usually these are free) and post your mock-ups to these domains.
Alternatively, if you want a large Portfolio Library already done for you, I would recommend WP Astra’s WP Portfolio product. You get this for free when signing up for the Astra Pro theme.
Step 3. Land Your First Web Design Client!
I wish I could tell you that this next part is easy. It really isn’t. In fact, you are likely to get discouraged at some point with the lack of phone calls or Contact Form submissions coming across your desk. And this is the part where most newbie web designers call it quits.
But you have to tough it out. Yes this next bit can be a slog. But once you get over the initial hump of landing your first client, it gets easier. Some of these tips should help you out, too.
1. Reach out to your Personal and Professional Networks
Think about people you have worked with in the past, in previous jobs. Ask them for referrals, and that you’re looking for new clients. They may not be interested in a web site, but they are likely to know someone that is.
If you’re thinking this is a pointless exercise because you don’t know anyone that has their own business, think again. You’d be surprised and the amount of people (such as yourself!) who are starting their own business, maybe on the side, and are just not broadcasting it. You’d be surprised how many leads you can get just by putting yourself out there and letting people know about what you can offer.
Of course, I also recommend posting your services on social networks such as Instagram and Facebook, but likely this won’t result in a ton of leads.
2. Leverage Social Media and Job Boards
Try searching Twitter for phrases like ‘hiring web designer’. This is one I’ve used myself to land some new leads. Send them a DM. Many companies are using this to hire freelancers to help them out!
Comb through your LinkedIn page and DM a few folks you know well. Tell them you are looking for work and that you’d be grateful for any leads. It doesn’t hurt to also mention that you’d be happy to return the favor for them.
Take advantage of free classified sites such as Kijiji. These will let you post a free ad for your services. Keep in mind that you will need to re-post your ad periodically, to keep it on the first page.
Freelance job boards, such as Upwork and Fiverr, are great tools to land some fresh clients. Upwork in particular has an intuitive and easy to use mobile app, where you can quickly apply for jobs while on the go. Just be sure to take the time to create a solid profile and Portfolio, as clients will want to use someone with experience. This is important, as you will want to try and stand out from other freelancers on the app.
You may need to accept some offers that are lower in pay than you would like, but after your
first few clients, and you have some positive reviews, you can start raising your rates.
3. Offer a unique selling proposition.
Make sure you have a clear and compelling reason why someone should choose you over other web designers.
For my website for example, I focused on the keyword “affordable web design”. And I also make it a point to let clients know that I will continue to edit and tweak the website’s layout until they are happy with it. So they don’t need to stress about any additional fees.
Step 4. Scale your Web Design Business
If you’ve read this far, congrats! You’ve taken the first step on your journey to becoming a successful web designer. From here, your goal is to scale up your business.
One common mistake I see newbies do is neglect to register for “Google My Business”. This is a free service that lets you claim your Business on Google Maps. Post some photos so people know you’re legit, and don’t forget to ask clients for a Google Review!
A few sentences in a review can have more influence on consumers than an entire website. Not to mention that reviews are a powerful Local SEO ranking factor.
Here’s a sample review request you can send via email, courtesy of Wordstream.
Hey everyone!
Positive reviews from awesome customers like you help other [athletes, parents, artists, ec] just like you to feel confident about choosing [business name]. Could you take 60 seconds to go to [link to review platform] and share your happy experiences?
We will be forever grateful. Thank you in advance for helping us out!
Rather than sending an unsolicited email, I like to send a ‘thank-you’ email to my clients once I’ve completed their website, and add the request above to the message body.
Learn Web Design for Free
The beauty of the four steps described above is that they shouldn’t cost you anything, aside from any hosting plan you decide to purchase. There are a ton of free learning resources out there to take advantage of and to get you started. Elementor has a free version that is more than enough to get you started designing websites for clients (I use the free version). If there are specific requests your clients have down the road, you can always purchase the Pro version later on.
I’d love to hear how your Web Design journey is progressing! Please feel free to drop me a line or respond in the comments section below with your thoughts!